Category: WhatsApp Integration
-
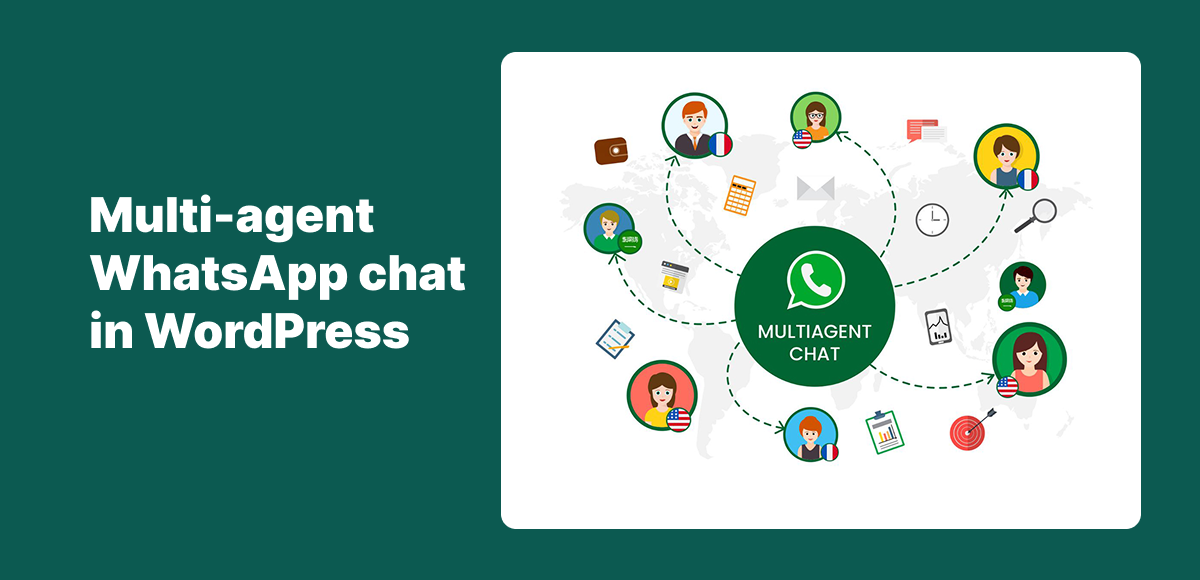
How to Add Multi-Agent WhatsApp Chat Support in WordPress
Managing customer communication gets harder as your business grows. A single…
-
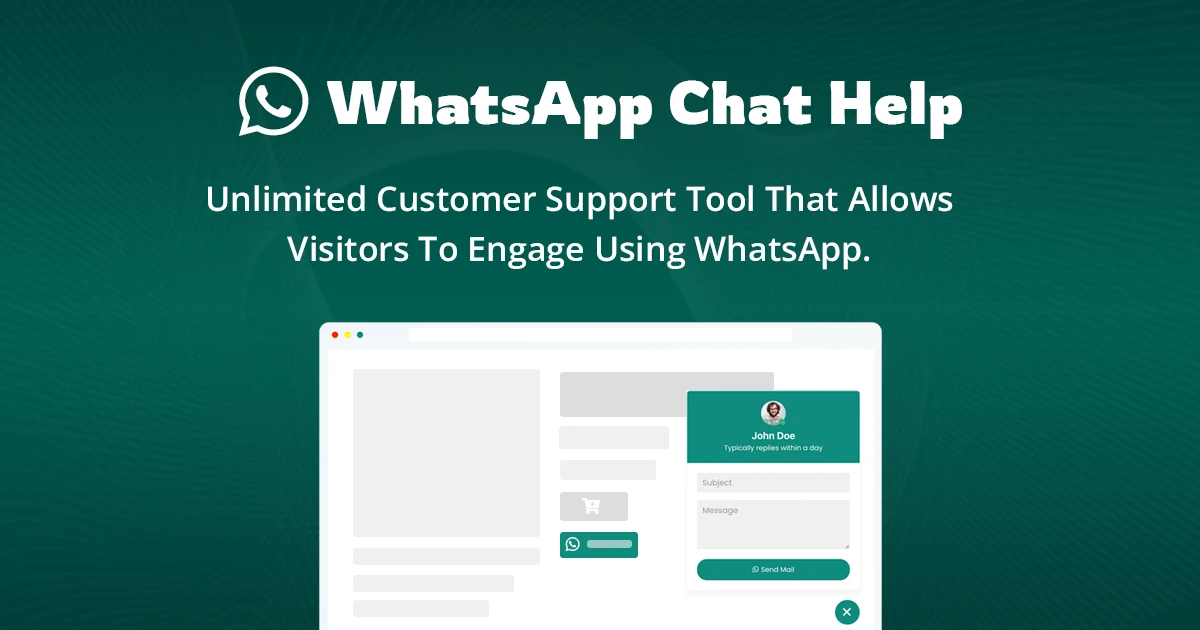
How to Add a Floating WhatsApp Chat Bubble in WordPress (Step-by-Step)
A floating WhatsApp chat bubble WordPress site is one of the…
-
How to Add WhatsApp Group Join Button in WordPress (Free & Easy Guide)
. Introduction: WhatsApp Group Join Button WordPress WhatsApp group join button…